Step #ane: Create your picture layers
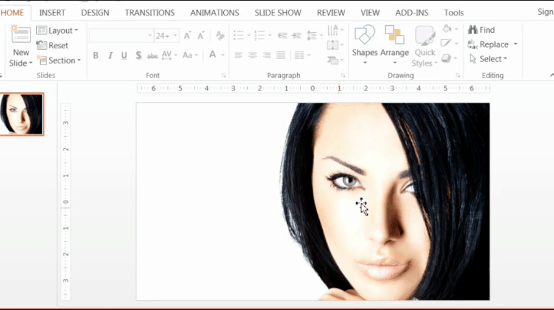
So, the first thing we do is, of course, we paste the flick that nosotros want to use in hither.
And then let'southward paste in this moving-picture show of a woman's face that I'll be working with – and but stretch that out to be the total slide size (though you can do this trick with whatever size picture you want).
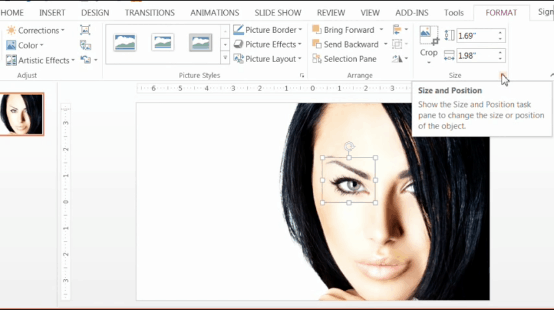
Now that nosotros have washed that, we have to choose which surface area of the picture nosotros want to zoom in on – in my case, I have chosen the eye and the countenance.
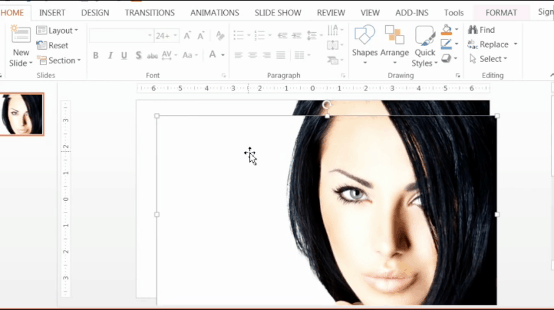
Nosotros now duplicate the paradigm by hitting Ctrl + D (or Control C and Control 5, essentially copy and paste) if y'all are on a PC.
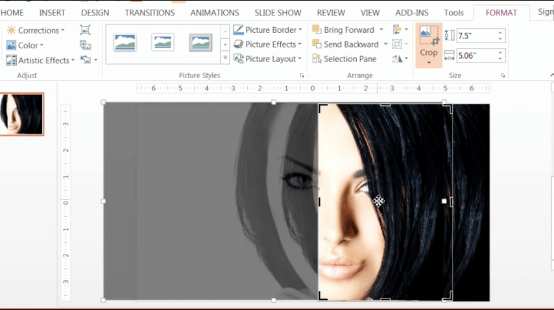
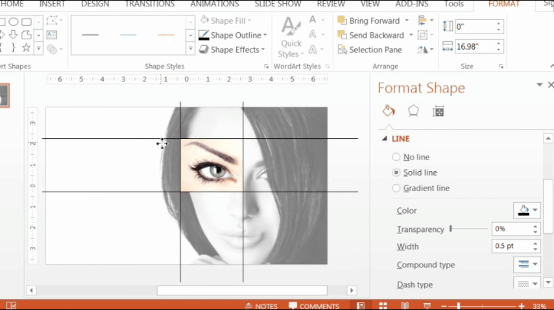
And then, at present we put the second prototype exactly on top of the first image. So nosotros marshal them upward exactly like that.
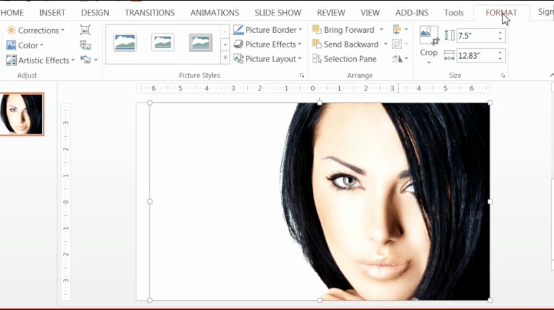
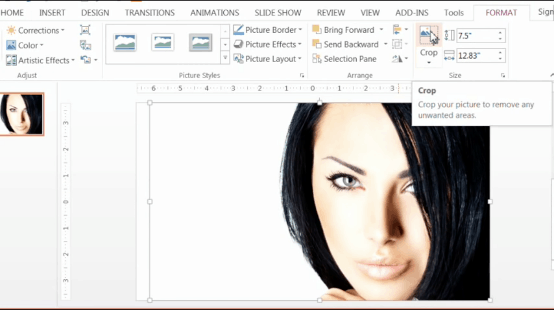
Now we go to Format > Ingather > and nosotros ingather out exactly the area that we desire to zoom in on.
Now that nosotros're done, the picture looks exactly the same – and it should, since they're perfectly layered on top of each other.
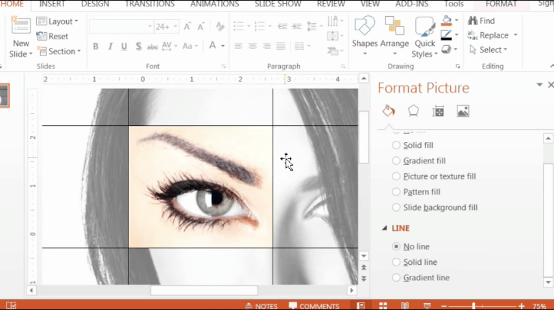
At present we have to make up one's mind how much nosotros want to zoom in on this eye.
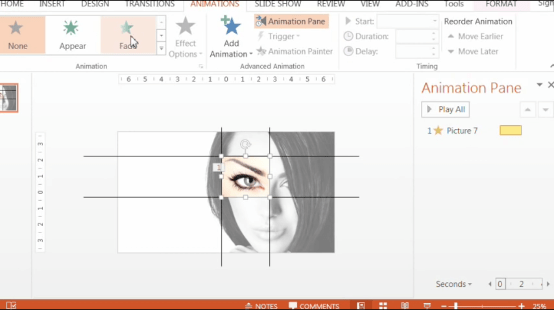
To play around with some zooming options we go to the Animations tab and go to the Grow/Compress outcome hither:
This gives you an automatic 150%, but to encounter other options, we get to the Consequence Options box.
From here, you can play around with unlike settings for the zoom. However, for this prototype, I really similar the default 150%, just the mode information technology is. For this project, it gives merely the right level of zoom – anything bigger looks kind of odd.
So observe the right zoom level for your needs – you can keep testing and changing it in the Consequence Options box.
Ok, now hither comes the tricky part.
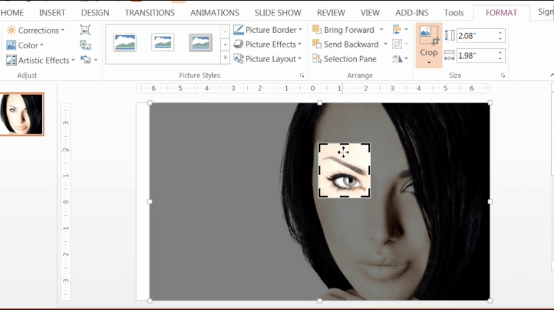
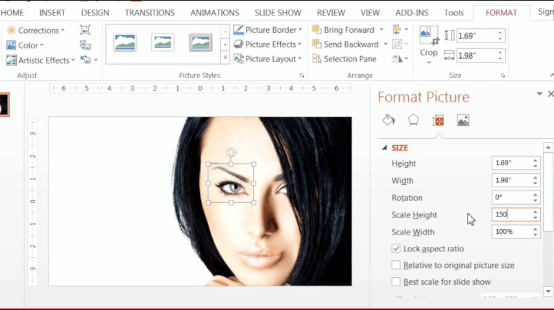
For the next pace, nosotros have to duplicate this heart, so nosotros get to the Format tab and resize this with the same amount of zoom as we only choose in the Effect Options. Since I had 150% for mine, that is what I'll go with. To begin, nosotros go to the Size and Position box under the Format tab:
Then, nosotros take out "Relative to original picture size." Now you calibration the superlative of this to 150.
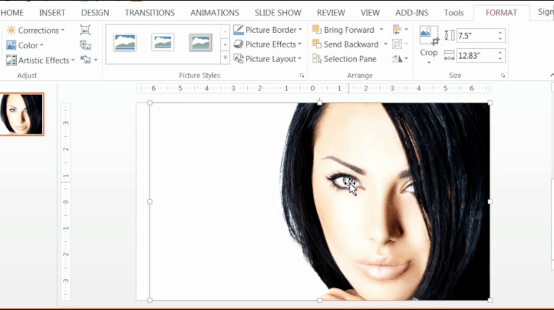
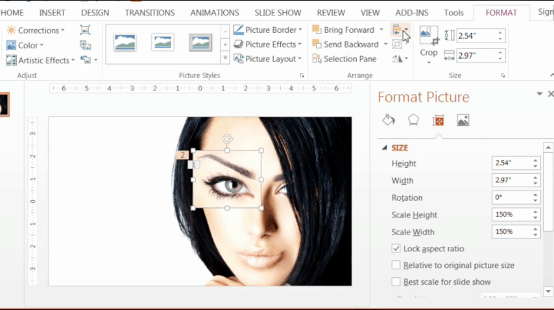
Nifty. Now the adjacent pace hither is very important. Y'all actually have to align up this bigger eye exactly with the other, normal sized eye, that you had here – until it looks exactly similar the below.
The center points of both images take to friction match perfectly (you can use PowerPoint'southward built in guidelines for this).
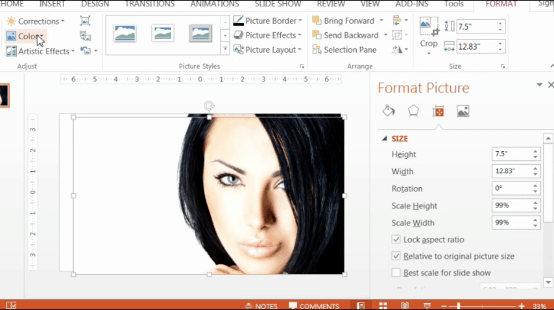
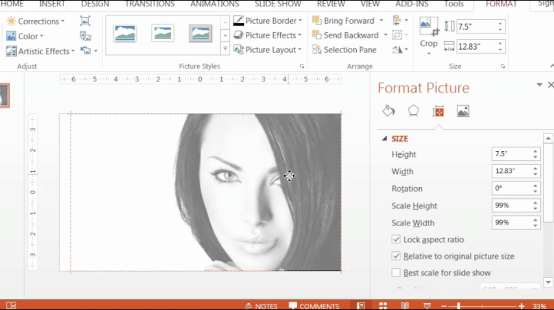
ow that we're washed with that, I want to show you one last layering option here. If you saw the original instance that I did, the prototype actually faded to gray subsequently the zoom happened. If you want the same affair for your picture, follow the next pace.
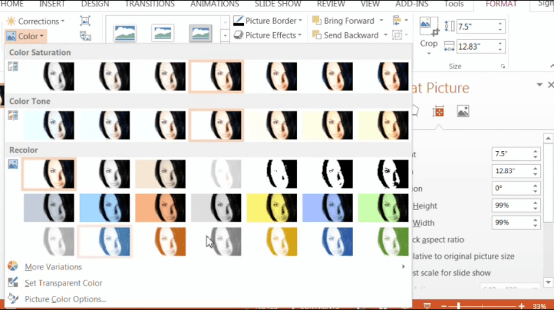
First, we duplicate the original motion picture again (CTRL +D as a shortcut). Then, under the Format Tab, we go to Color.
Then we can make it i of the gray tones. I chose this 1 here:
Once again, we align this up to exactly friction match the original – use the guides if needed.
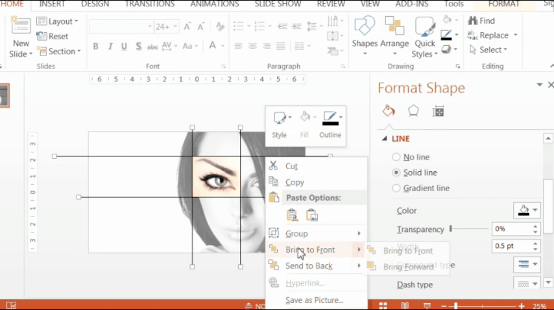
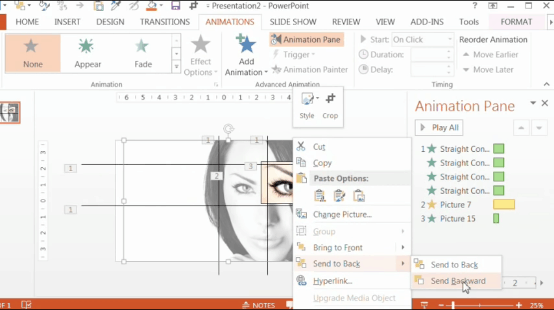
What we do now is we right click and mouse over Send to Dorsum, and then choose Send Backward because you lot want information technology to get simply i layer down. This will help us make the picture fade to gray when we want to exercise that.
Ok, now that we have this; nosotros are fix to add the Zoom Lines.
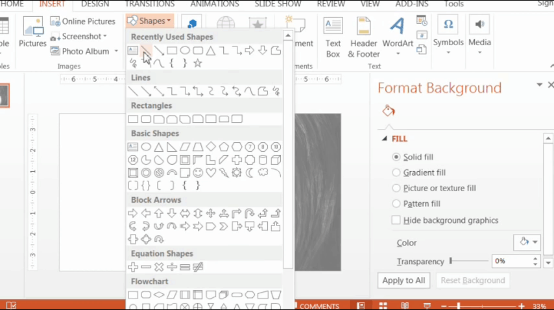
Step #2: Add your zoom lines
To add the Zoom Lines we just go to Insert, Shape and we select 1 of the lines here.
You just want two vertical lines and two horizontal lines.
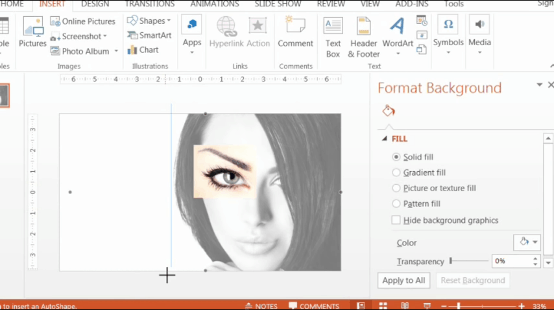
To make sure the line is straight you hold downwardly the Shift primal while you are dragging information technology down or sideways. Recolor the line to black and experience free to change the thickness.
Note: Information technology really doesn't matter if the line goes off of the screen like this one does.
Your final result with all iv lines should wait like the below.
I recommend zooming in to brand sure that lines are pretty close to verbal – information technology looks like it.
Now that we take the lines done, allow's just bring them all to the forepart.
Select all of them by holding downwards Shift so correct click, then select Bring to Front.
Corking, now we're gear up to animate these.
Footstep #iii: Add your PowerPoint animations
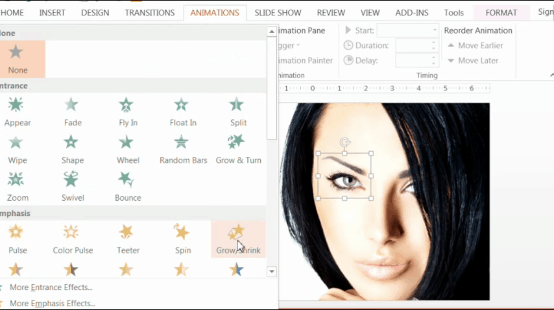
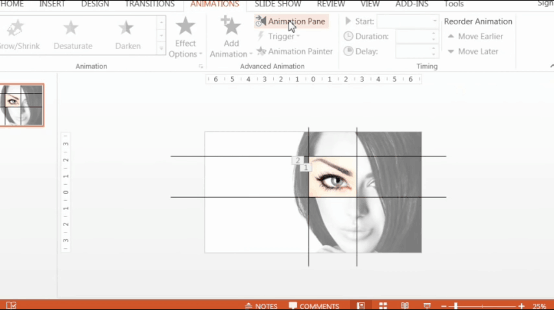
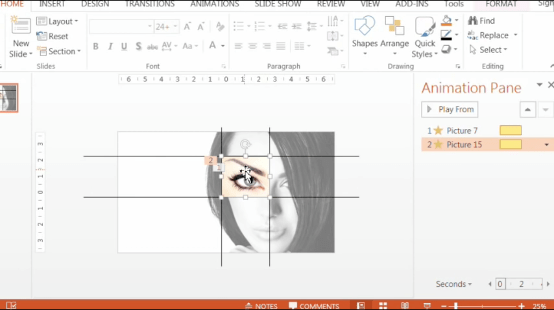
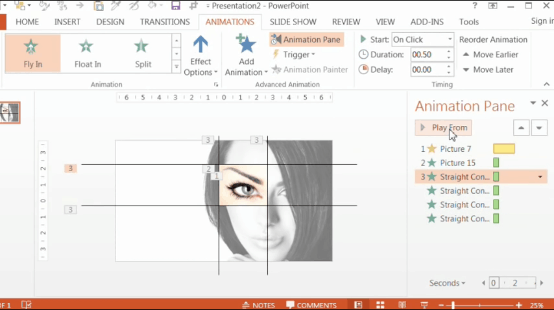
To add together animations, we go to the Animations tab and nosotros open the Animation Pane and then we can encounter what we're working with.
First, make sure that there aren't any animations on the meridian centre (the larger one in the front).
I had a grow animation nevertheless on it from duplicating the smaller eye (since animations also get copied with duplicated images). I just need to remove this outset.
In simpler terms, it's the formatting courage of your PowerPoint presentation. It's what ensures formatting consistency across your unabridged presentation every bit you build your slides.
The key is, making certain that your template is set correctly, which a lot of template don't have. They are instead what we phone call fake PowerPoint template.
To learn how to create your own PowerPoint template, read our guide hither.
The idea here will be that the small eye gets bigger, so when it'south done, the large center will fade on top of it. The reason nosotros'll practise it this way is because PowerPoint currently has a glitch that when yous use animations to make things larger, they don't retain quality and become pixelated.
This workaround ensures the eye (or the zoomed part of whatsoever moving picture you lot use) withal looks expert.
At this point, we're not going to worry most the timings, as volition arrange those in a little bit.
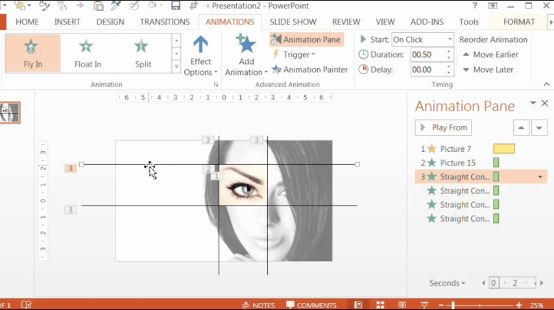
For now, let's work with the lines. To practise that we showtime select the lines (every bit we did before) by holding Control or Shift while we click on them.
Once the lines are selected, nosotros'll add a Fly In animation under the Entrance furnishings to all of them.
Of course, we'll change the settings on information technology. Let's make the lines fly in from opposite directions (peak flies in from bottom, right flies in from left, etc.).
And then, this pinnacle one is fine already because it is already coming from the bottom as the default.
For the bottom one, we'll make it beginning from the top, the right line from the left, and the left line from the correct.
Great – we have the lines done. 1 thing you may want to do as this point (depending on your picture) is to requite the zoomed picture (the big eye in my case) a black outline. This often makes the effect more than polished (simply not ever – and then check your own work).
Let's get to Format and Film Border and so just add together a black border hither.
Now the trick here is going to be lining up the zoom animation so that matches the animation of the lines, finishing right at the end along with them.
Let's clean up the timing here a little scrap.
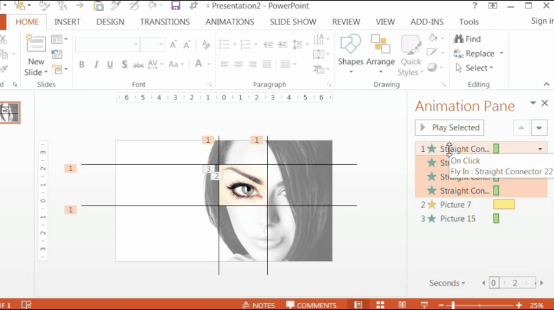
Let's select all the lines and elevate them to the acme here so they're commencement in the sequence.
At present allow's make them all have a duration of 1 second.
Now the zoom effect is going to be on the modest eyeball that'south behind the large one.
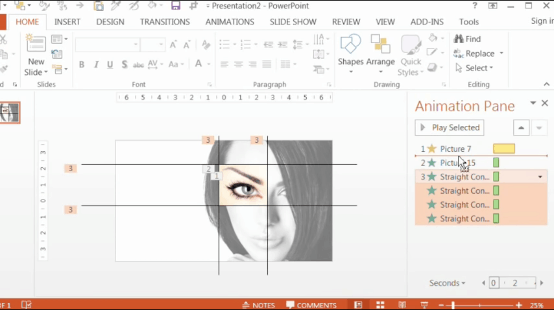
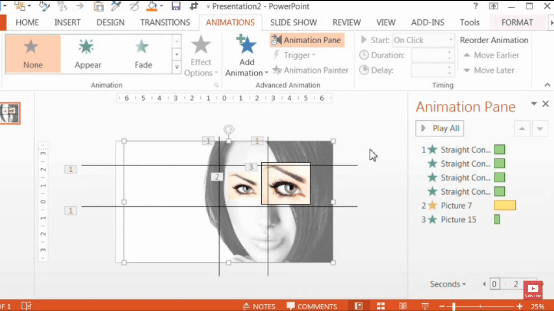
Nevertheless, in order to exist able to work with it to conform the timings, we need to send that black and white picture backwards so the small heart is visible – then permit's do that here… select the black and white picture and send it astern.
And so the smaller eye pops up – you tin run into it because of the slight mankind color (I moved the larger eye out of the way temporarily and then you can come across information technology).
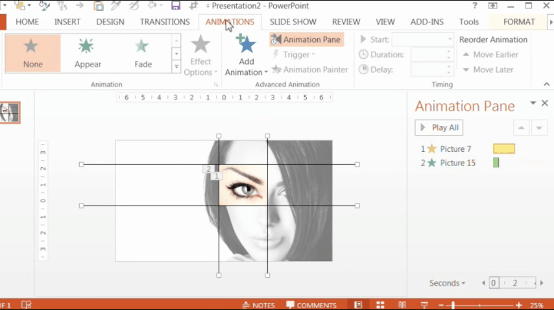
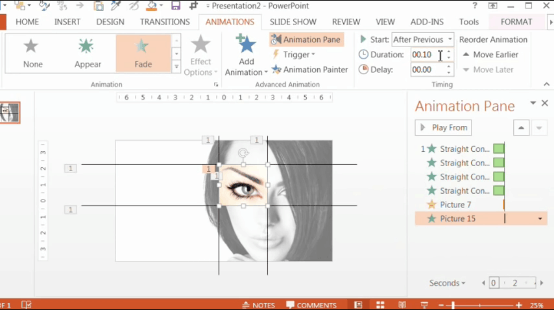
To summarize, the small-scale eye is called Picture show 7 and the big eye is called Picture 15 in the animation pane. As I mentioned earlier, what we demand is for the small-scale eye to grow, then right at the end, the big eye will fade in to replace it.
The catchy part now comes from trying to line upward the timings so that the lines go beyond the small middle merely as information technology zooms – and then information technology looks like the lines are creating the zoom. You have to just test out the best combination of timing and elapsing for both the lines and the eye on your movie.
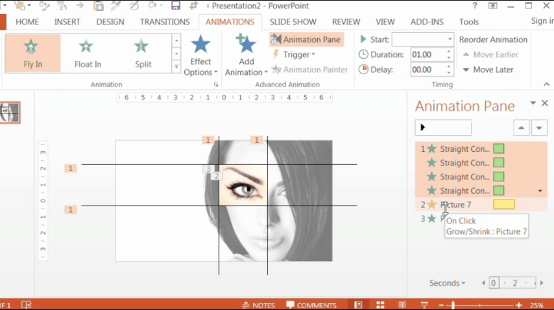
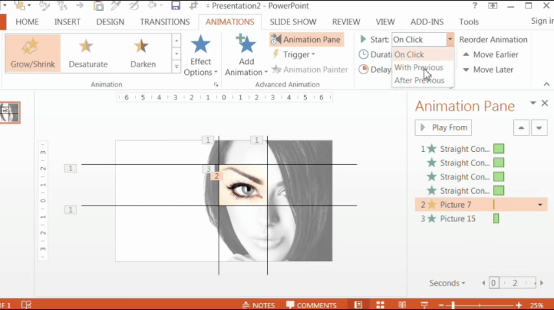
For example, I'g going to start by giving the eye zoom (Flick 7) a duration of .ane offset. Overnice round number and looks good with the size of the flick.
PowerPoint-Zoom-Step-3.14-lining-up-the-animations
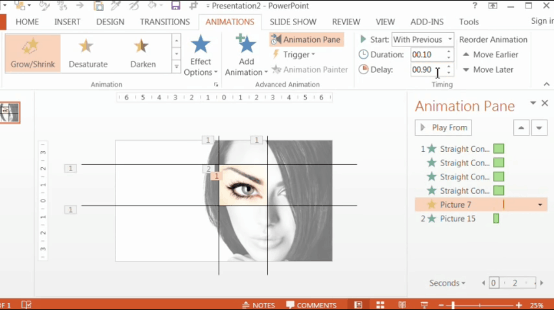
Now I'll give it a delay of .nine. This is because we want the lines to start moving a bit before the zoom begins.
I also want the total of the delay and the duration for the eye zoom to equal the total duration of the lines (.ix+.1 = ane second).
At present nosotros go to the large eye (Picture xv) and change that blitheness to commencement Later Previous then it appears right when the small-scale eye ball finishes its zoom. Also requite it also a duration of .1 to brand it blend in with the remainder of the effect.
With this timing, we are close – it looks ok, merely the small eyeball doesn't zoom quite fast enough to keep upwards with the lines.
Then, what that means is we actually have to brand information technology start earlier and be a little bit slower and so that it ends up finishing right when the lines do.
So, let's make information technology .13 in duration and make the filibuster .87.
This notwithstanding adds upward to 1 but is slightly adjusted.
This looks much, much better. Modest adjustments can actually make a difference. Settling on this timing / delay combination has really taken a lot of experimentation – so endeavor various timings and delays on the Grow animation to friction match the lines (and/or change the timing of the lines too).
One time you go information technology, it'southward magic.
Ok, the hard part is over.
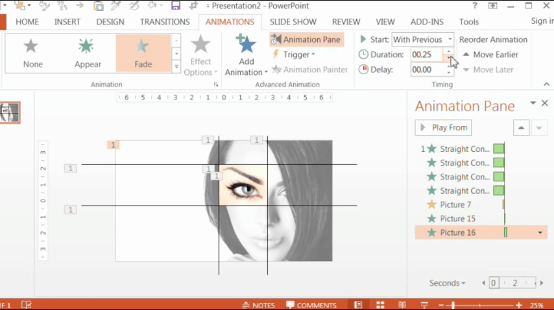
To polish this further, let's make the black and white motion-picture show come up in right after the zoom event happens. So make it outset With Previous, and requite it a .25 2d duration.
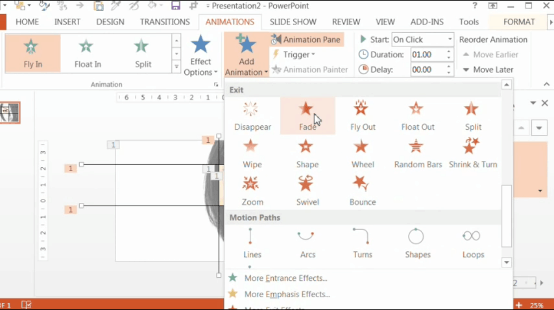
Finally, permit'southward make the lines fade out afterwards they come in (this role is optional, if y'all like the manner it looks).
Then, let's select them again (by clicking and belongings down SHIFT). So, click on "add animation," then become to Exit animation and select Fade.
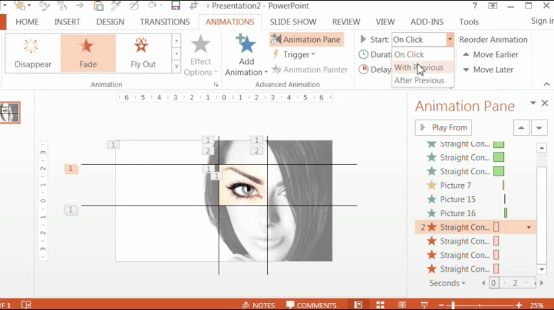
Prepare these to also get-go With Previous then they fade out with the blackness and white picture.
Now merely preview your work in Presentation mode and see what it looks like. Make any final adjustments you similar.
And cool – you are all done!
Calculation this effect to your presentation volition instantly increase its level of professionalism and add some SERIOUS spice.


0 Response to "How Can Ypu Edit A Animation In Power Point"
Post a Comment